
Outdoor Portrait Editing Workshop
Learn how I edit outdoor portraits from RAW file to finished image, working from scratch with natural light, mixed colour, skin tones, depth, atmosphere, and mood, with every major decision explained as I edit.
Lightroom and Photoshop
Lifetime access · Lightroom & Photoshop · 30-day guarantee
Why Good Outdoor Portraits Can Still Fall Apart In The Edit
Outdoor portraits are harder to edit than most photographers expect.
In the studio, you control the light.
Outdoors, you work with whatever you are given: golden hour warmth, flat overcast grey, harsh sun, backlight, street lights, mixed artificial colour, and locations that are never quite as clean as you want them to be.
The expression, pose, and location can all work.
But once you sit down to edit, the image can still fall apart.
The colours do not quite hang together.
The skin goes strange in the highlights.
The background starts competing with the subject.
You push the mood, and the whole thing starts to look overworked.
The shot was good.
The edit let it down.
That is what this workshop is about: complete outdoor portrait edits, from RAW file to finished image, showing how I shape the light, control the colour, protect the skin, build atmosphere, and bring the portrait together with intention.
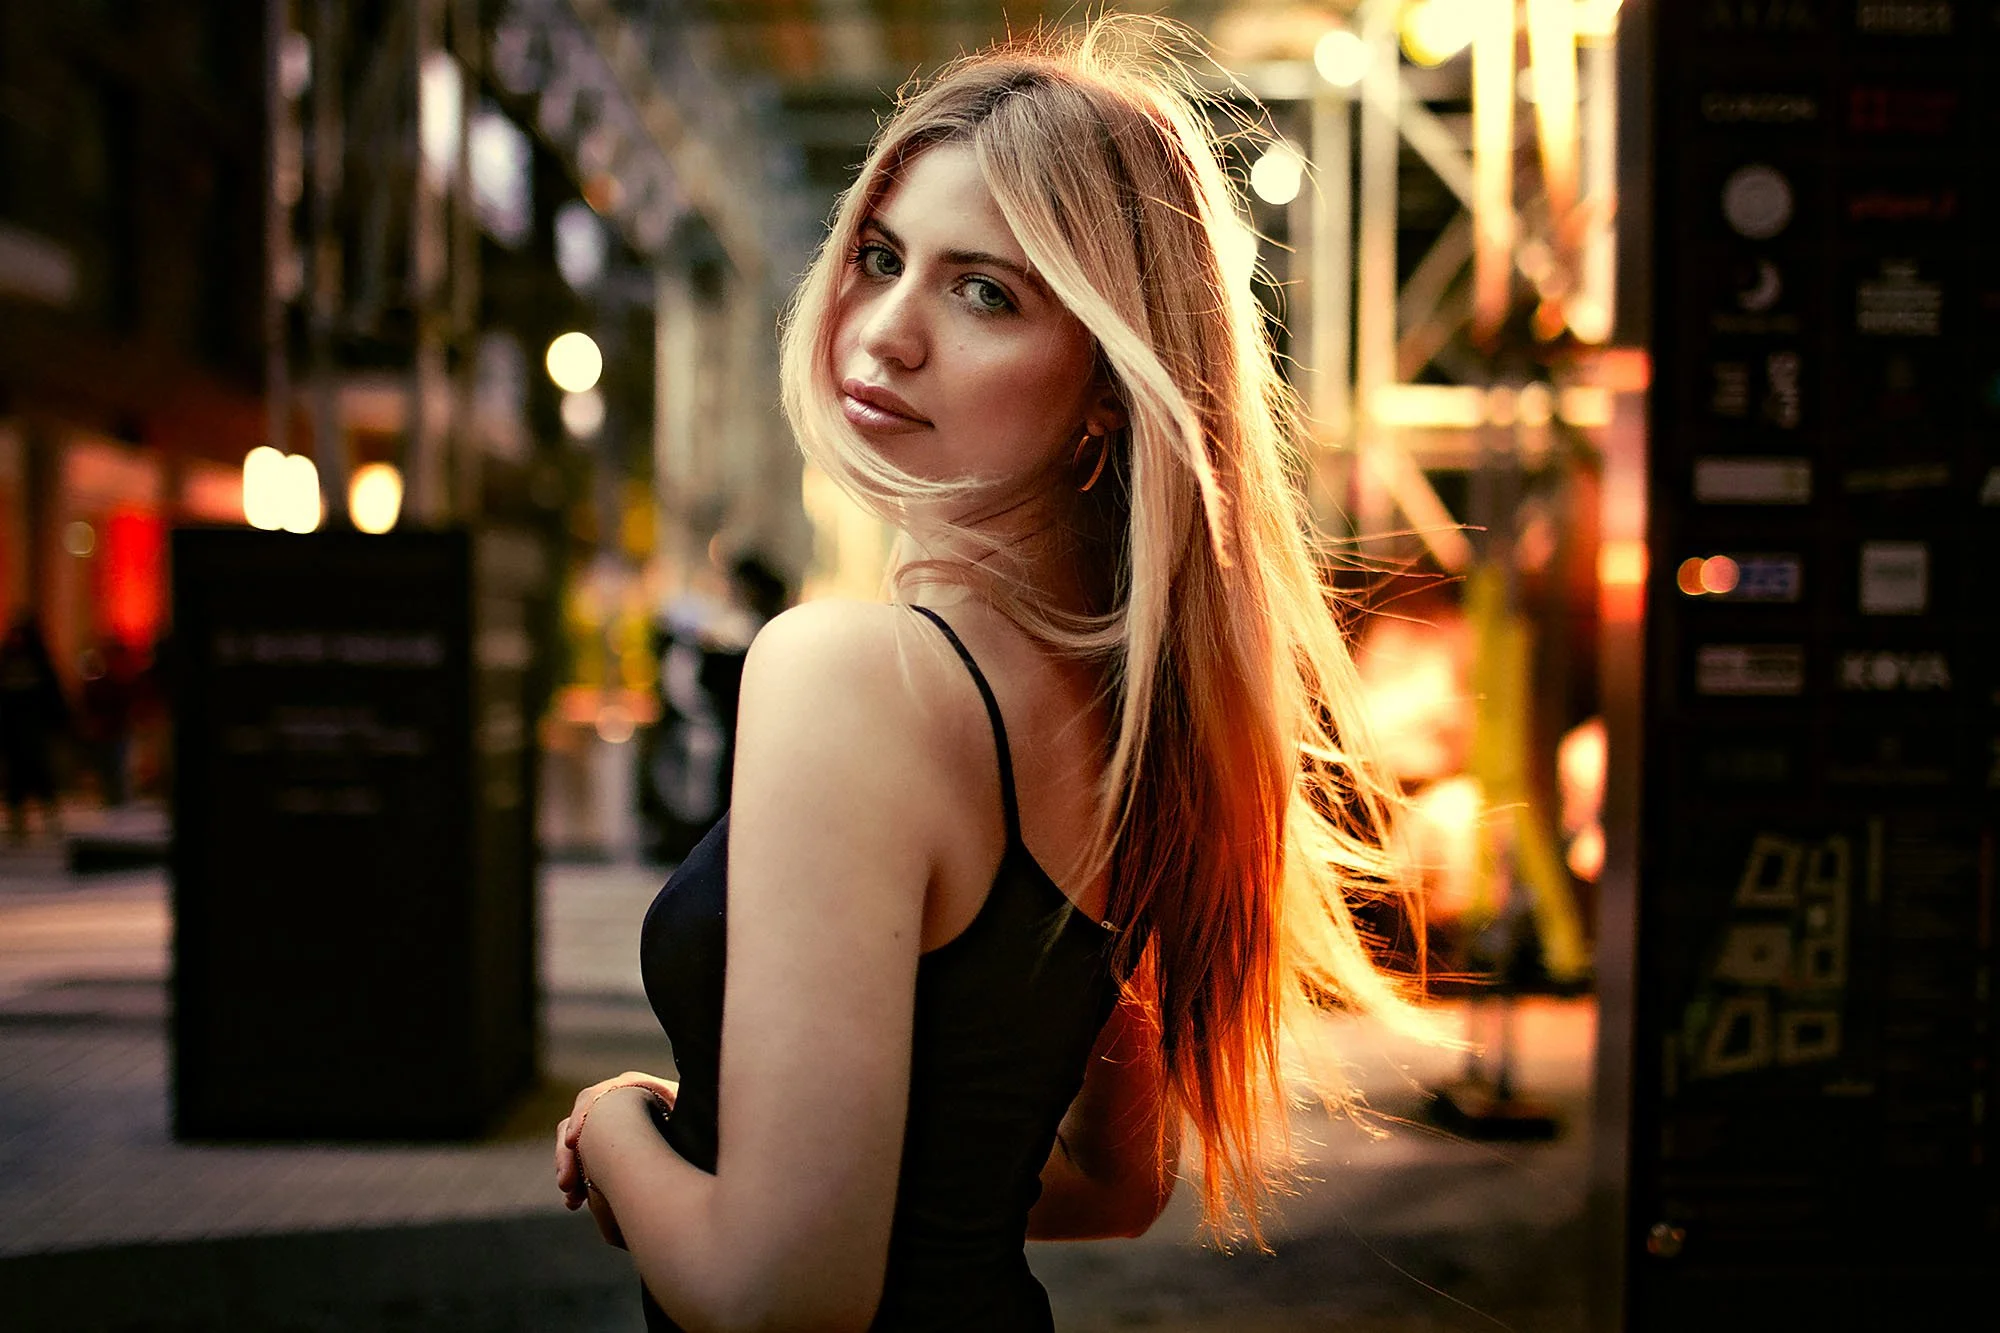
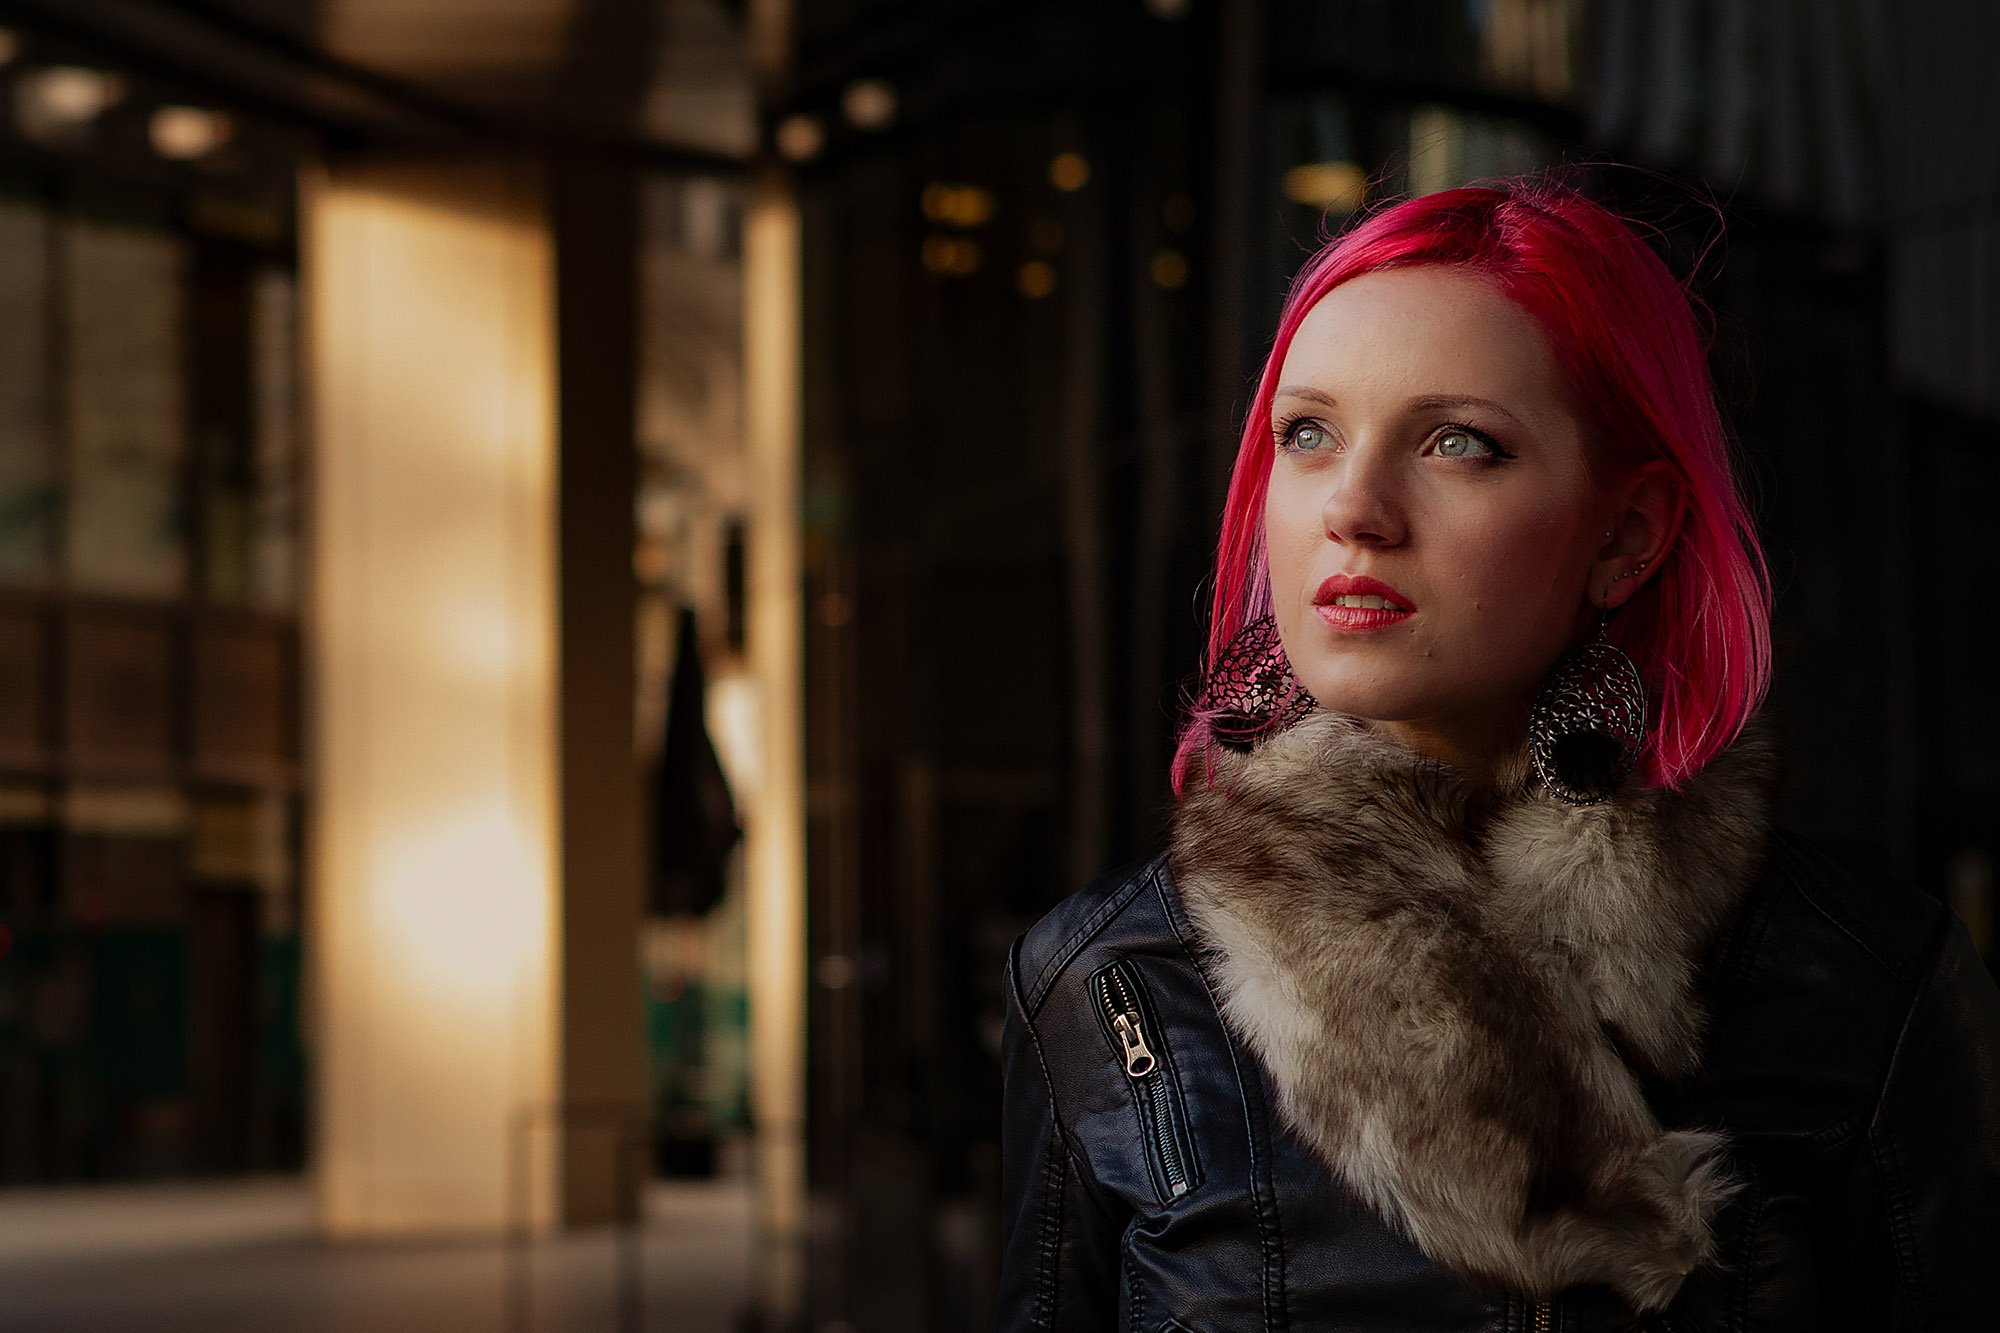
Watch The Full Edit, From RAW To Finished Outdoor Portrait
This exact portrait is edited inside the workshop.
You’ll see how the image is built gradually: the first RAW adjustments, the tonal direction, colour decisions, skin tone control, subject separation, background balance, and final refinements that bring the portrait together.
Not a preset.
Not a copied formula.
A real edit, built from scratch around what the image actually needs.
RAW file → finished edit
No Presets. No Shortcuts. Just Shaping The Image Properly.
There are no presets in this workshop.
That is intentional.
Outdoor portraits change too much from one situation to the next for one preset or fixed formula to solve everything.
Golden hour behaves differently to overcast light.
Backlit portraits behave differently to harsh sun.
Artificial light at night creates its own colour problems.
Urban locations can throw colour everywhere.
So instead of giving you a set of slider values to copy, this workshop shows you how I look at each image, read what the light was doing, decide what the portrait should feel like, and build the edit from there.
You’ll see how I approach outdoor colour, skin, depth, atmosphere, and mood from scratch, one decision at a time
Inside the Workshop
The main part of the workshop is six complete outdoor portrait edits, from RAW file to finished image.
You’ll watch me edit different subjects, different locations, different lighting conditions, and different moods in real time.
The edits cover:
golden hour warmth
flat overcast natural light
backlit portraits
mixed artificial light at night
urban environments with complex colour
outdoor portraits where skin, background, and atmosphere all need careful control
Before and around the full edits, there are supporting lessons covering the shooting and thinking that make the editing easier to understand:
the cameras and lenses used
aperture, shutter speed, and ISO
how to expose outdoor portraits
how lighting, composition, idea, and editing work together
planning and working with models
developing the idea or concept
finding models to work with
finding locations
how to greet models and get the shoot started
You’ll see how the shooting decisions and editing decisions connect, so the edit does not feel like a rescue job after the fact.
It becomes part of the whole process.
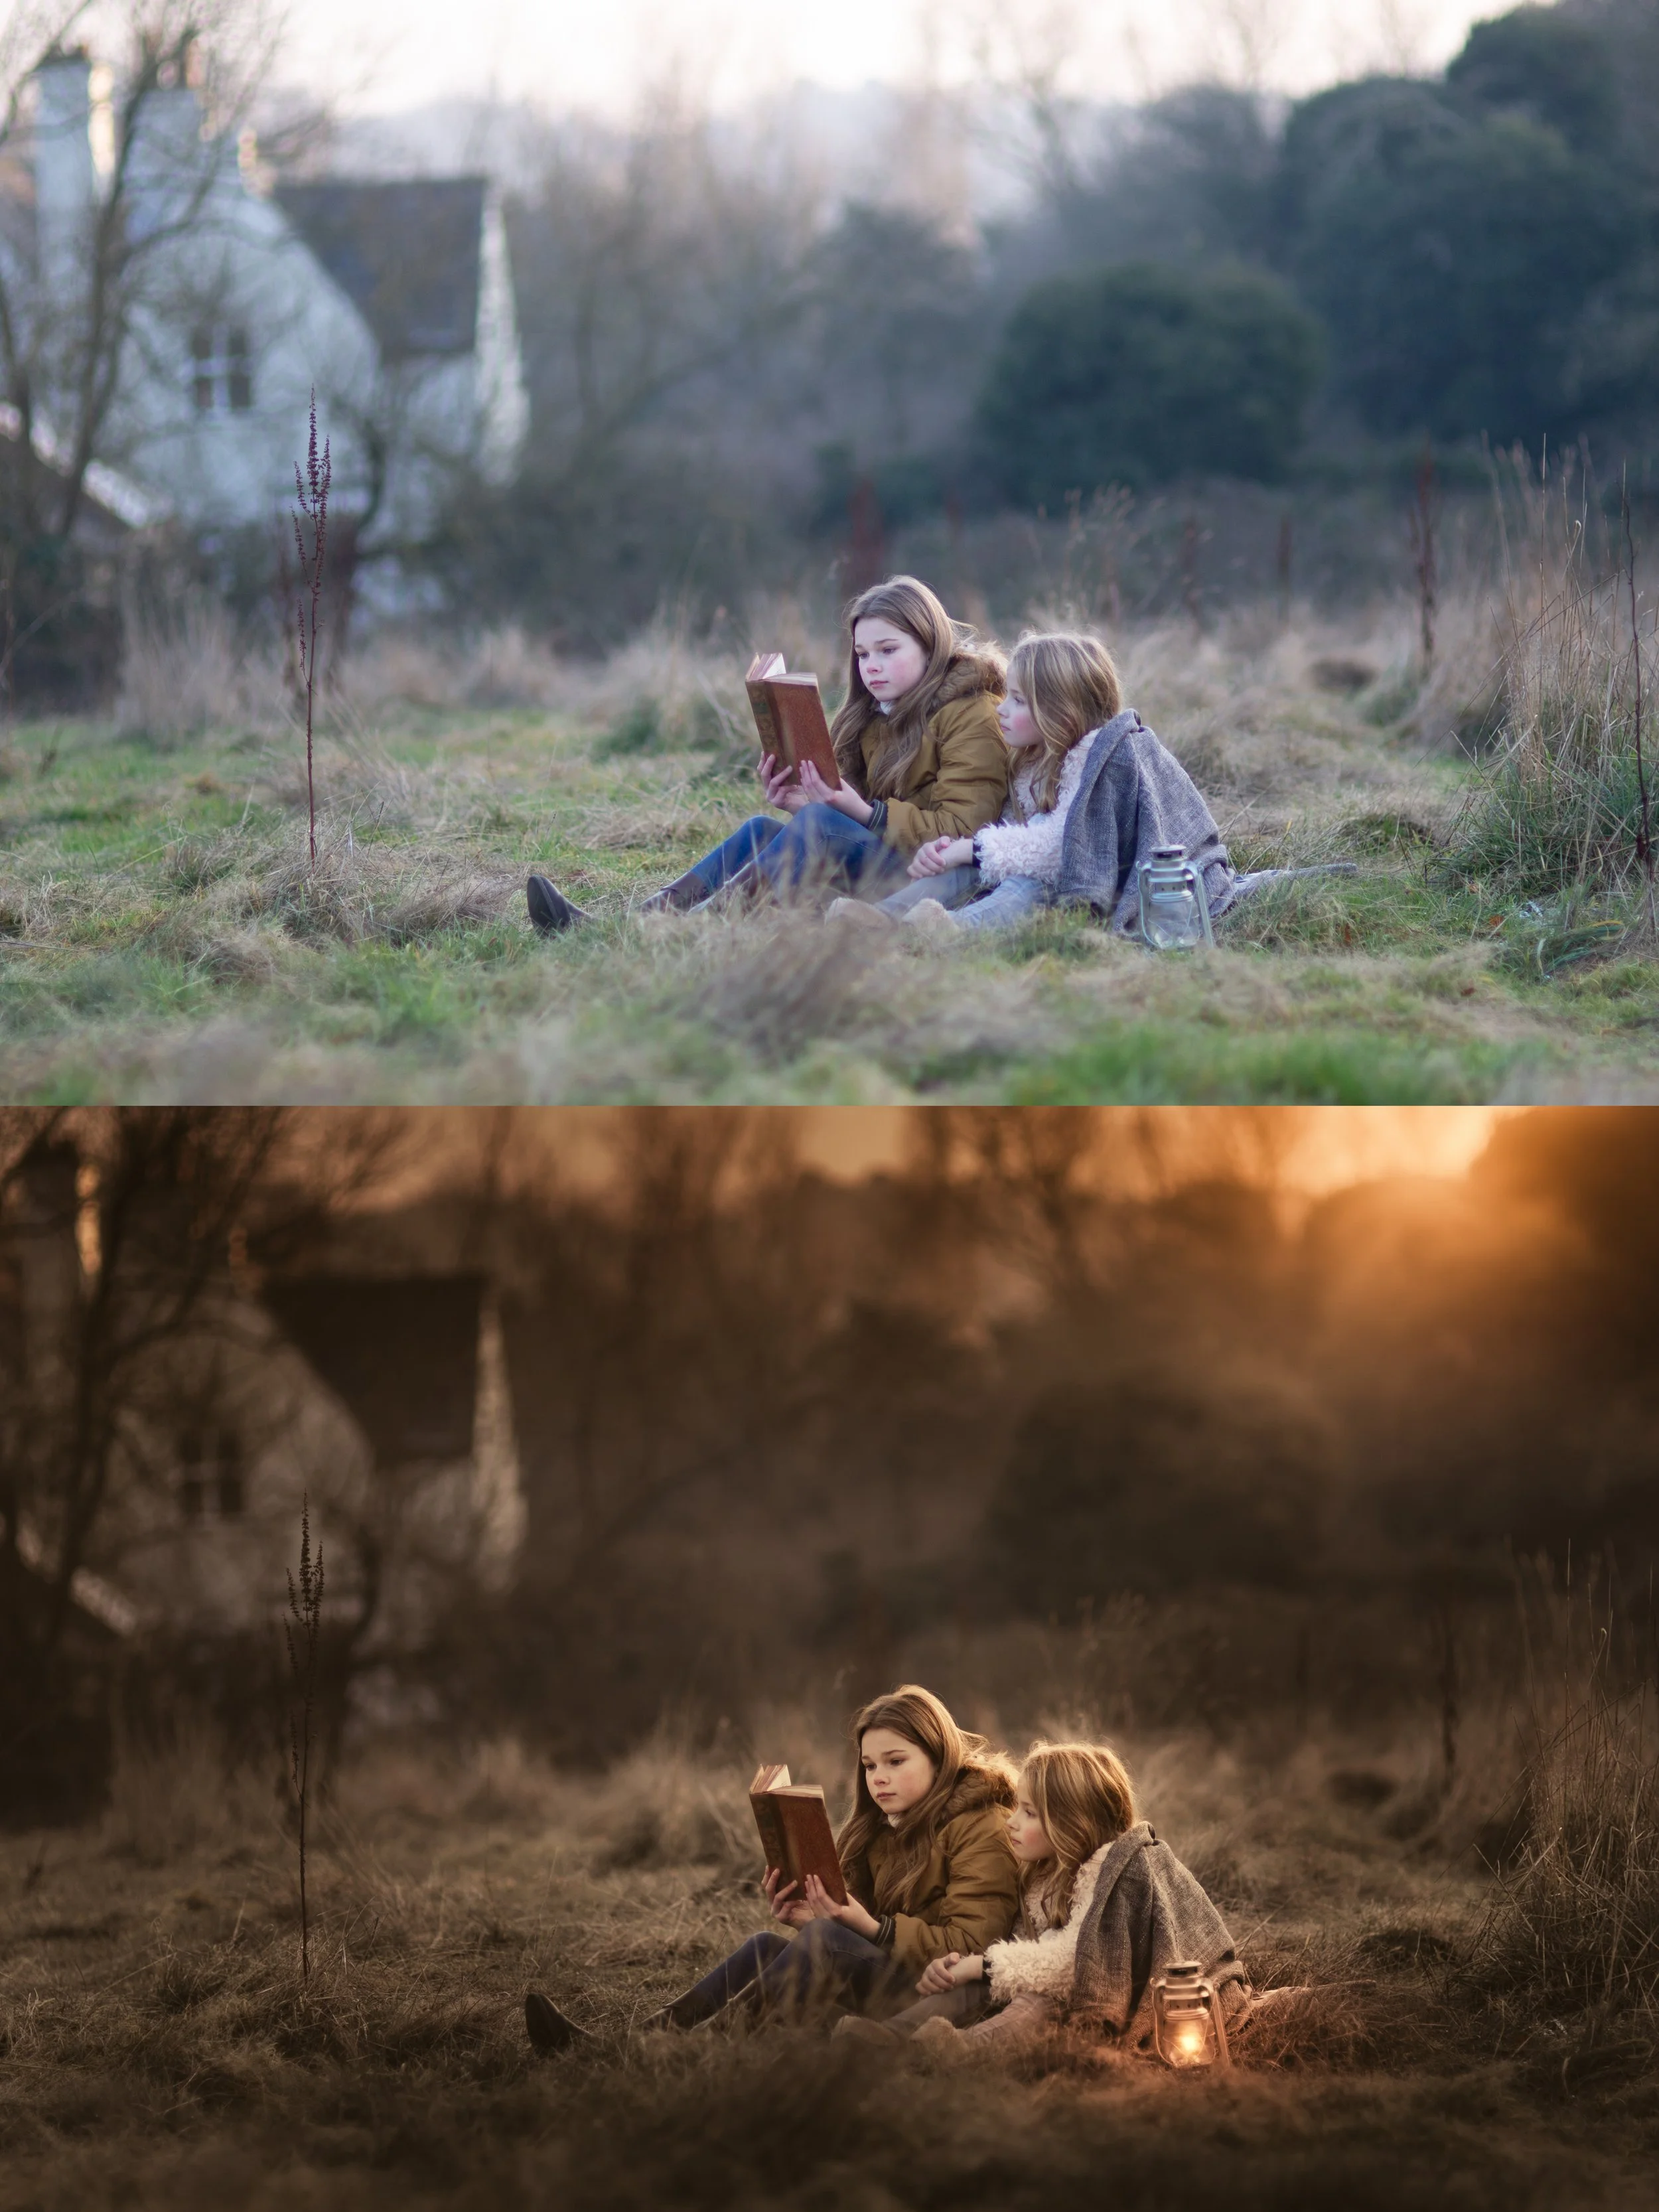
The Edits You’ll Watch Inside The Workshop
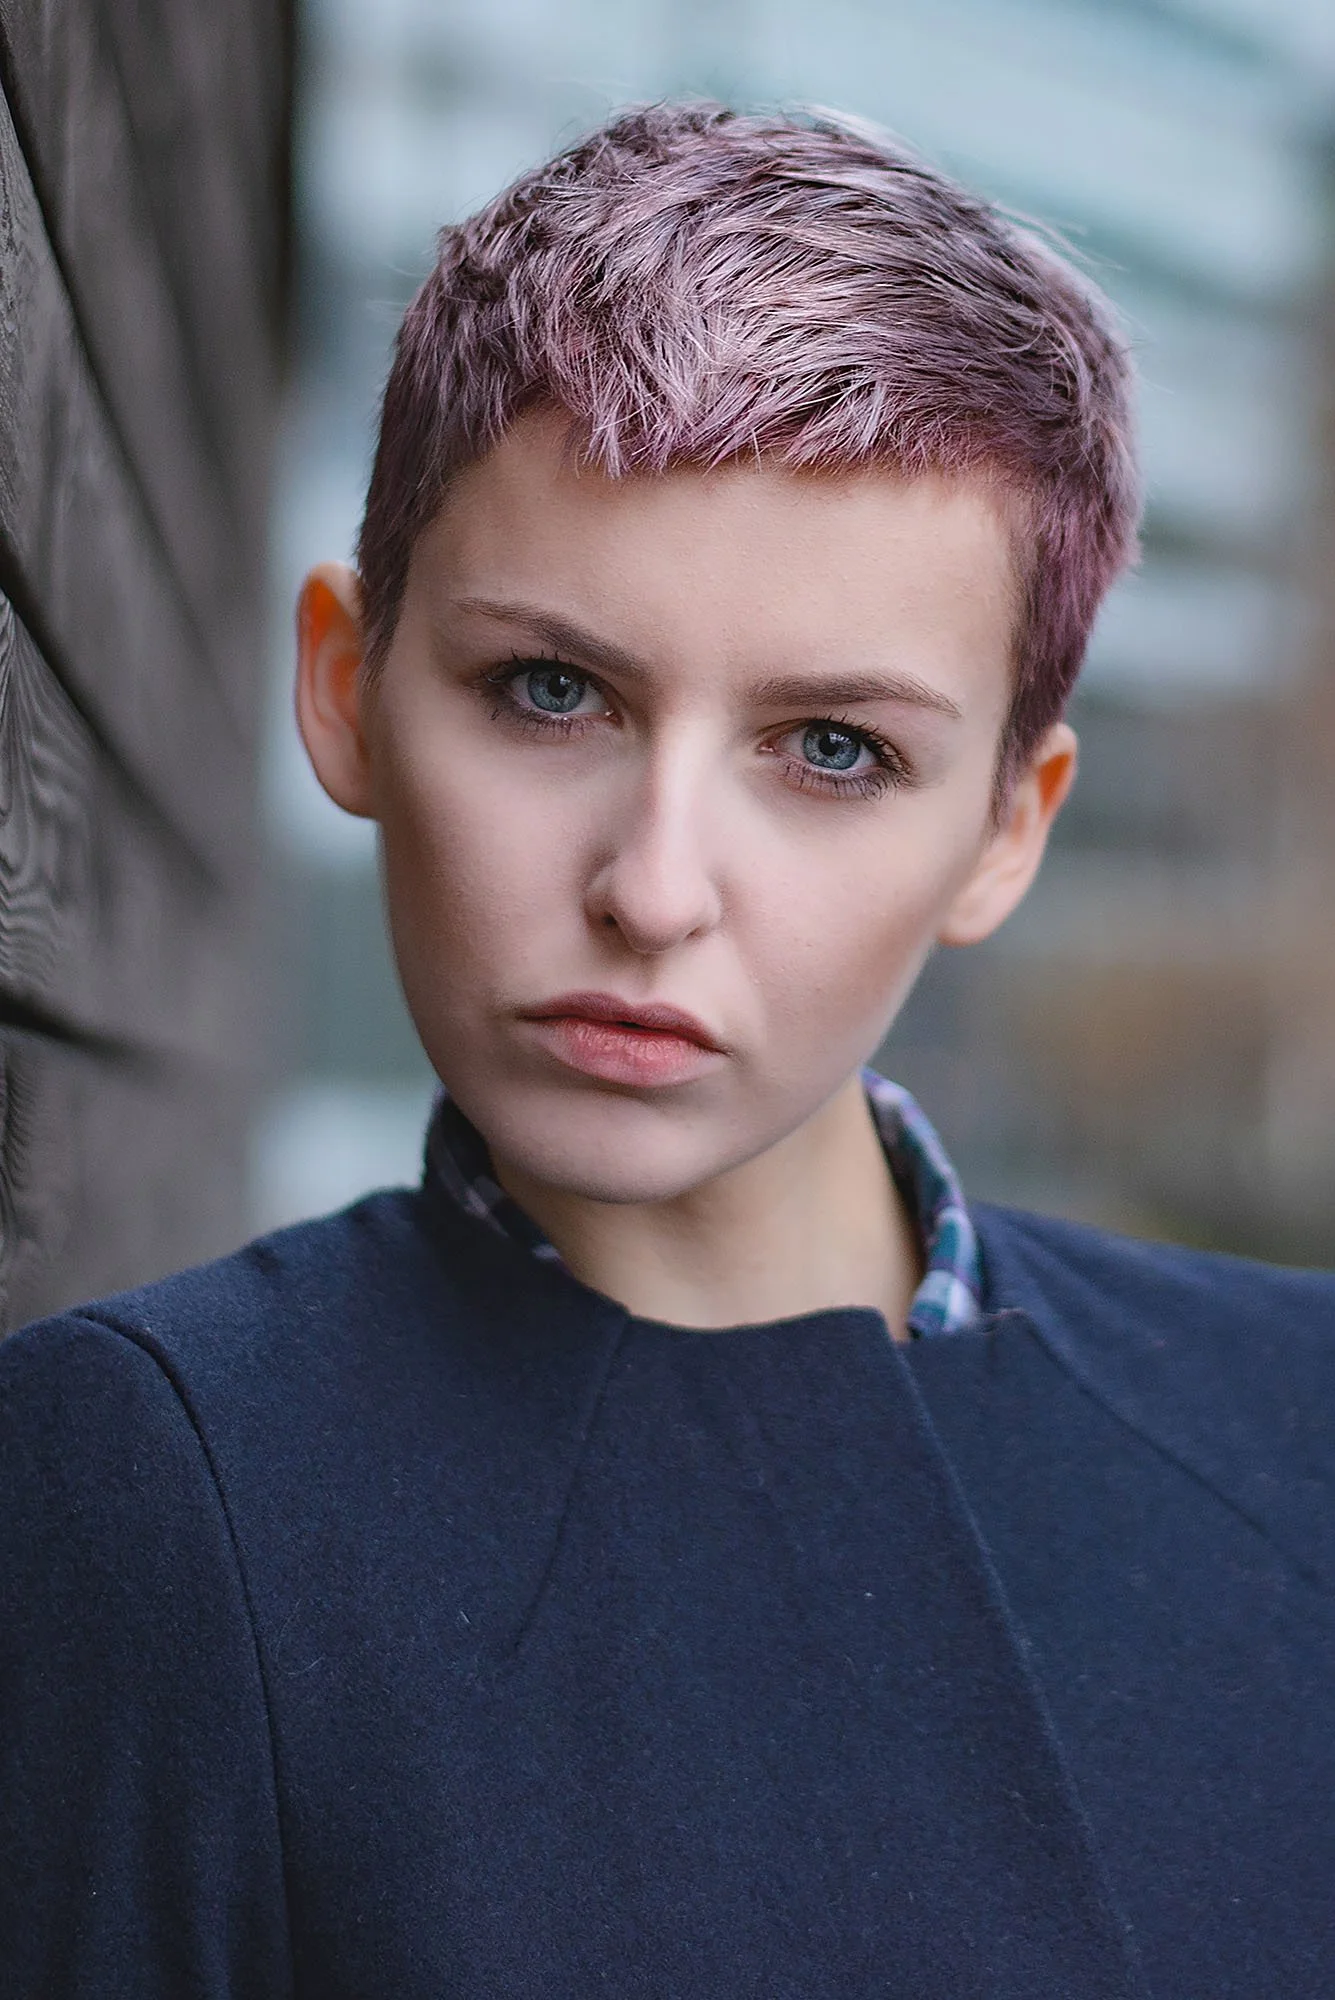
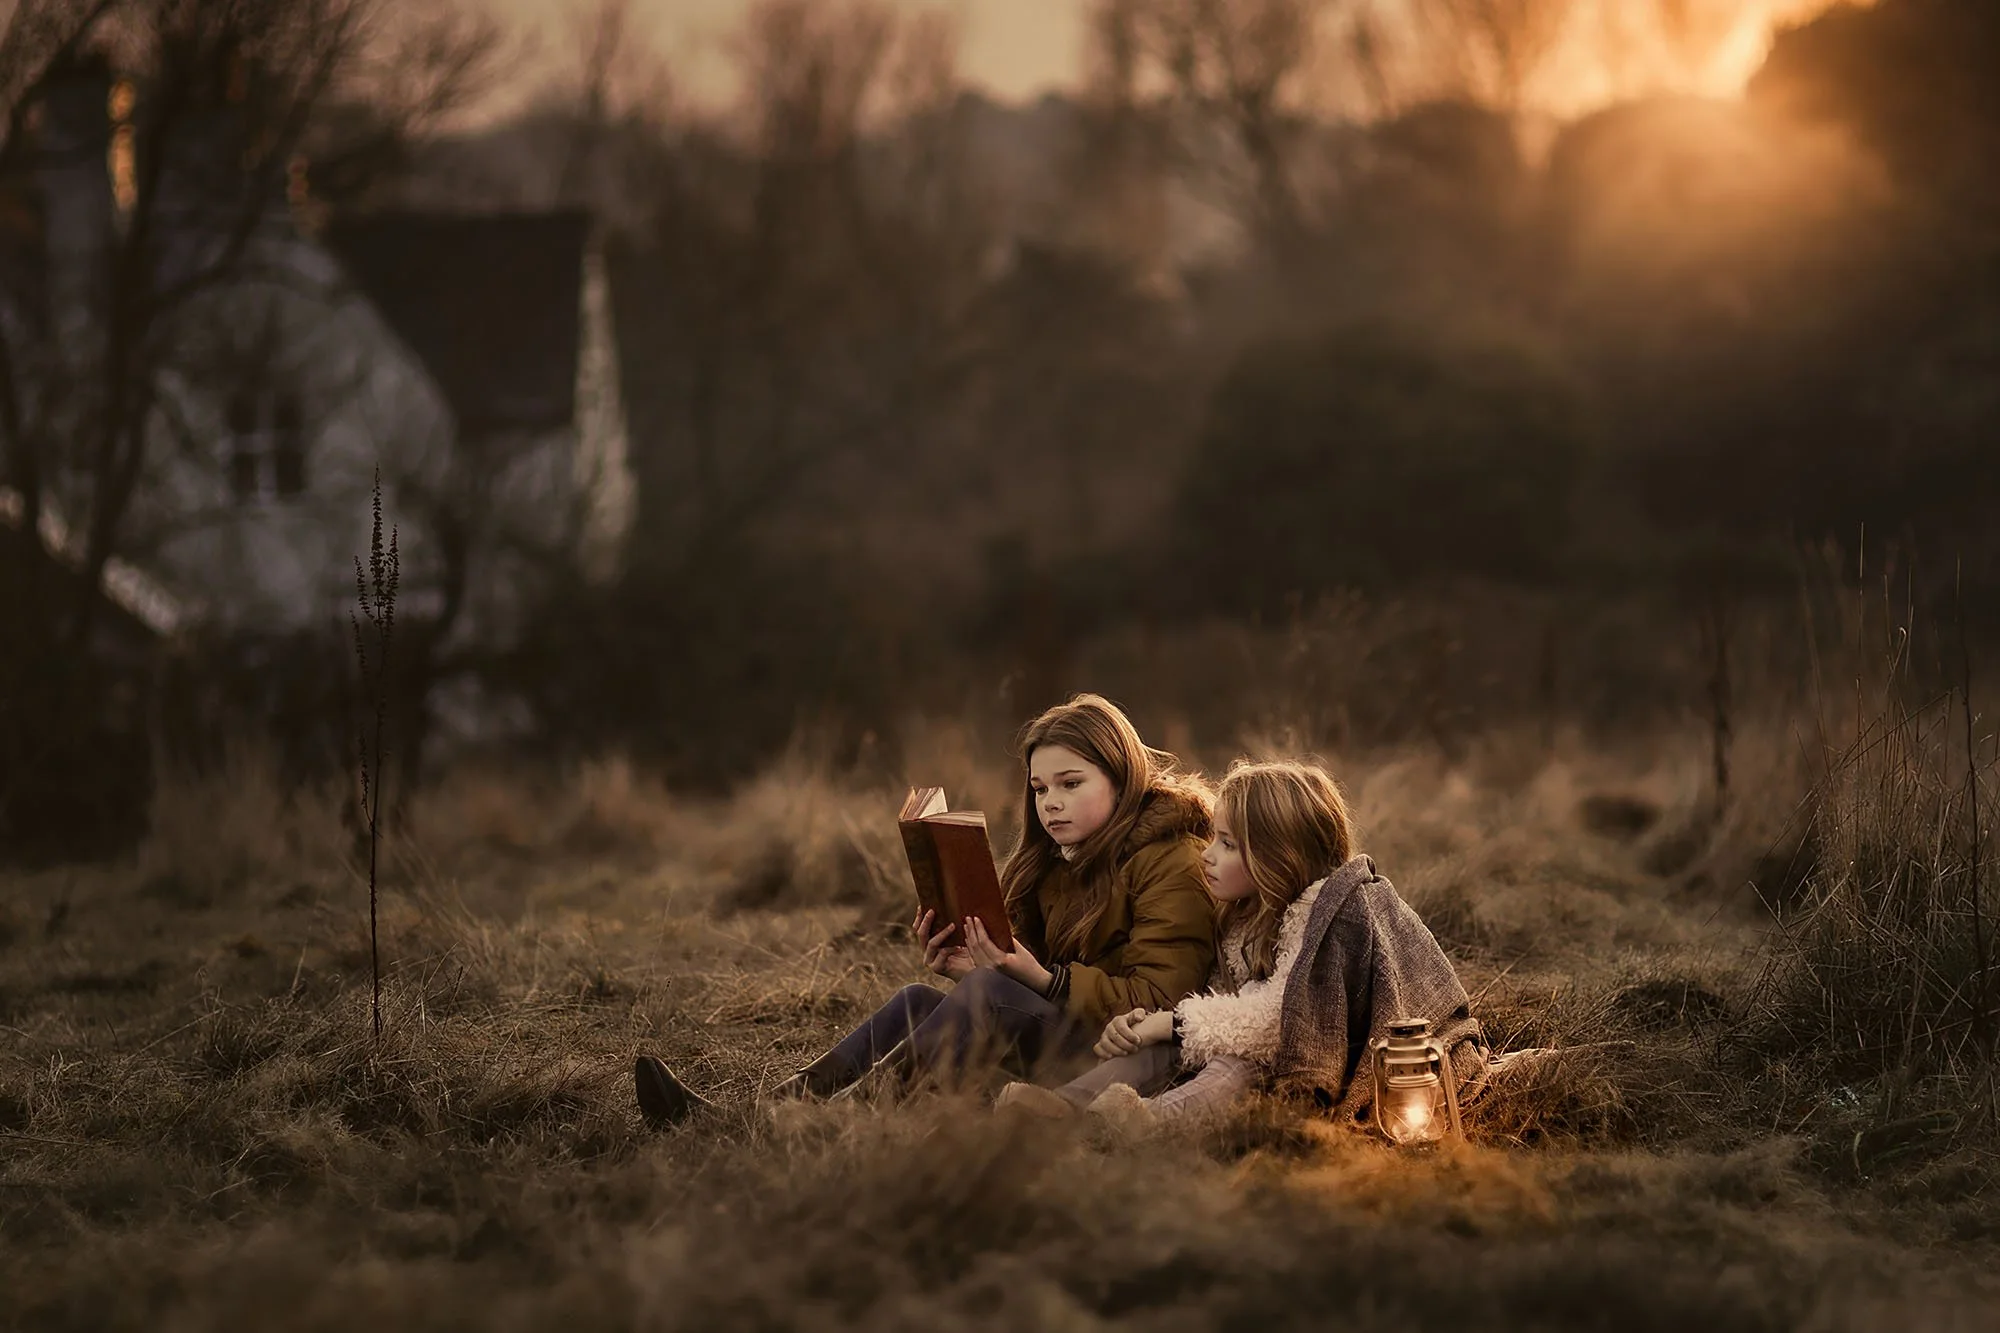
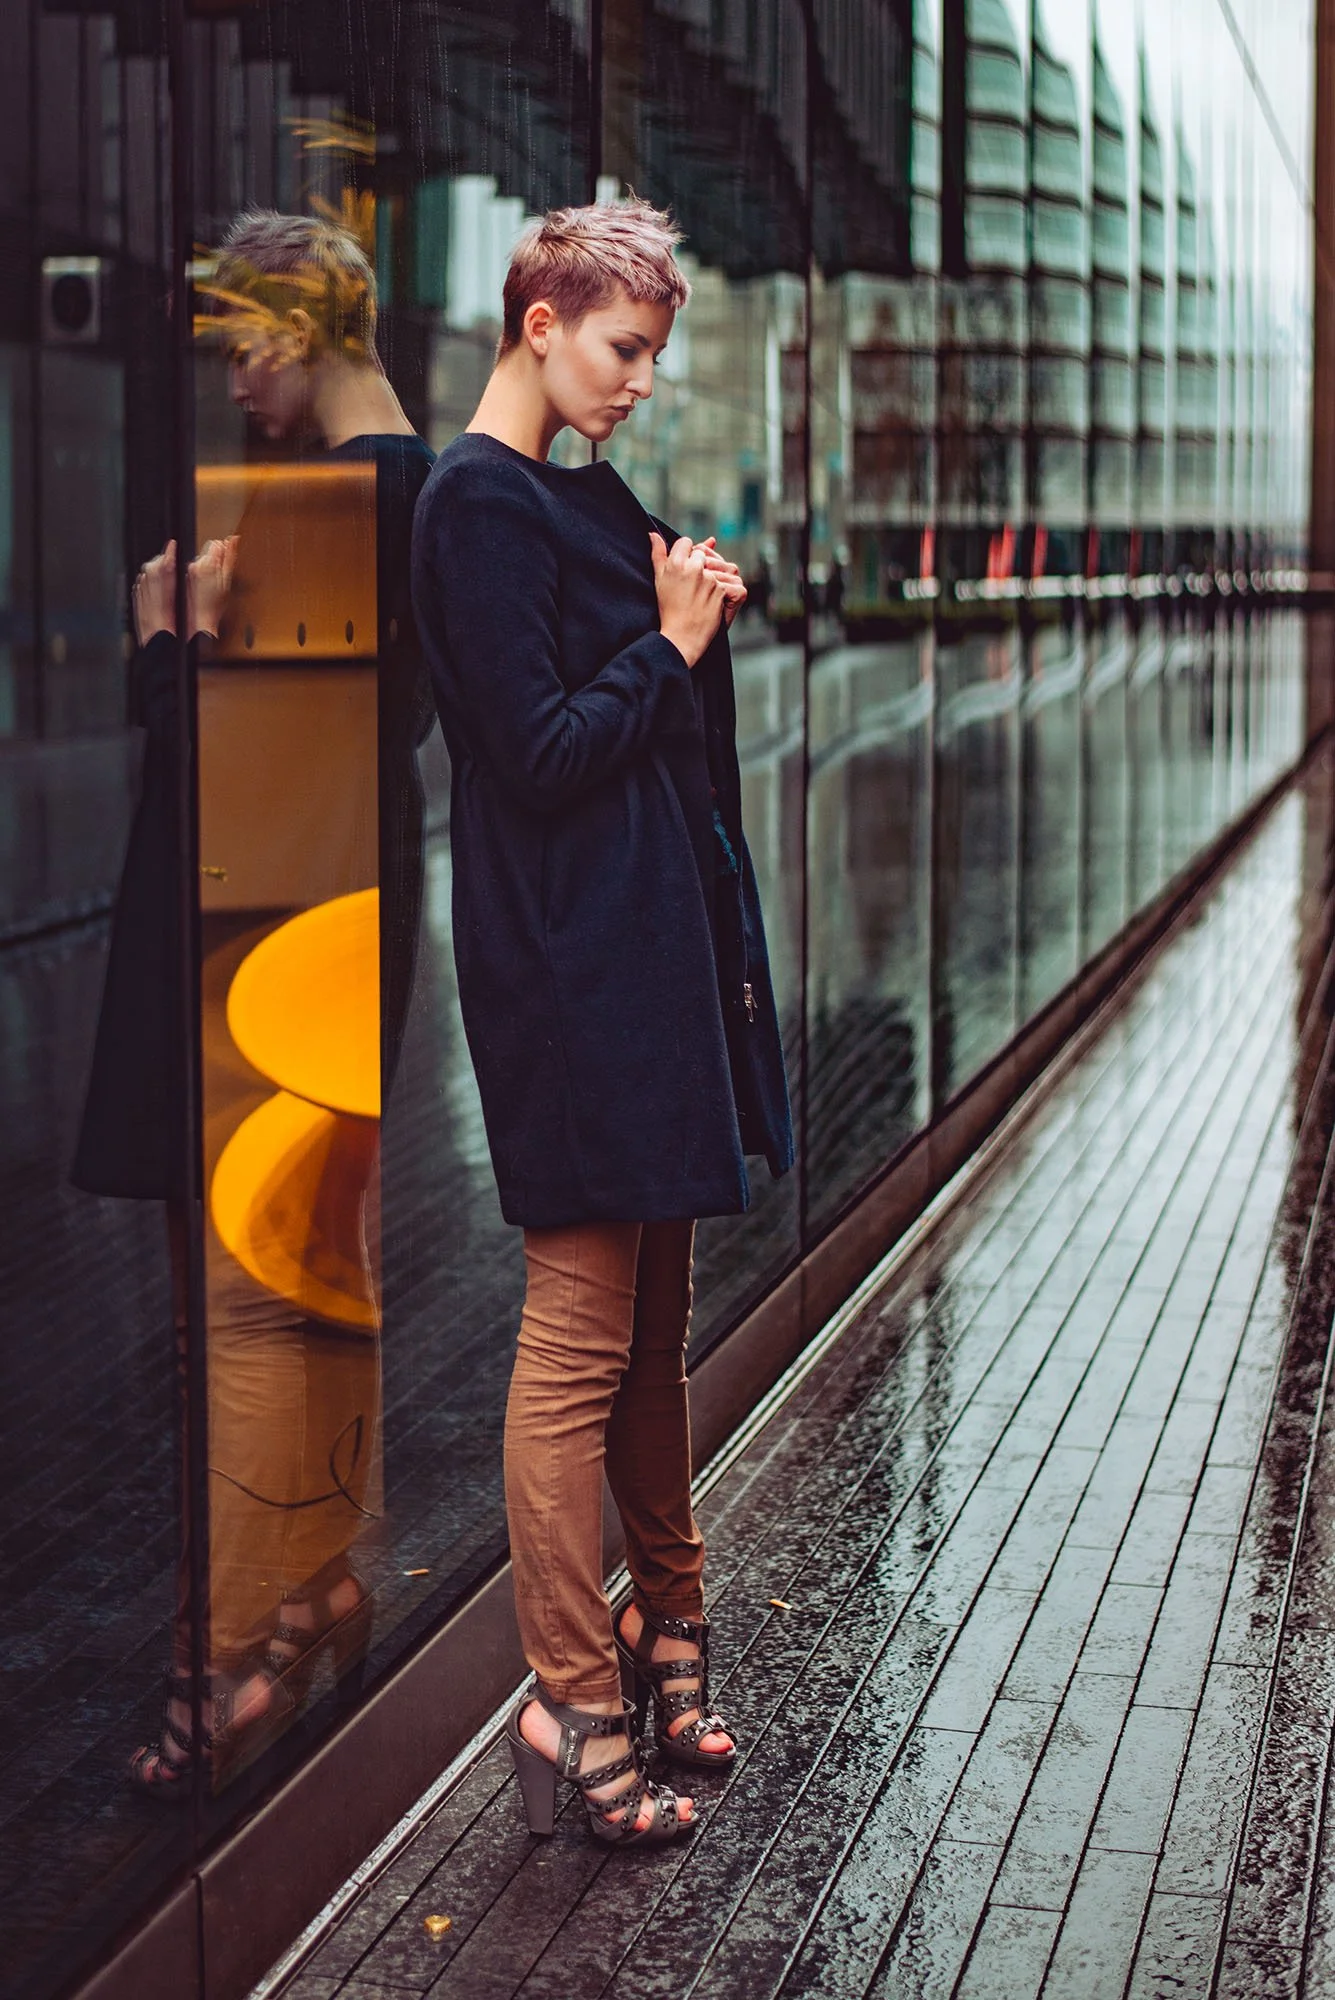
Each image below is edited inside the workshop, from the RAW file through to the finished outdoor portrait.
The gallery shows the range of conditions covered: golden hour, overcast light, backlight, mixed artificial light, skin tone control, atmosphere, and outdoor portrait finishing from scratch.


ENROLL
Outdoor Portrait Editing Workshop
$159 · One-time purchase · Lifetime access
Learn how I edit outdoor portraits from RAW file to finished image, working from scratch in Lightroom with every major decision explained as I work.
Inside the workshop:
six complete outdoor portrait edits, from first RAW adjustments to finished image
golden hour, overcast, backlit, night, mixed light, and urban colour conditions
how to read outdoor light and let it guide the edit
how to keep skin tones natural across different lighting conditions
how to build colour harmony, depth, separation, mood, and atmosphere
supporting lessons on cameras, exposure, lighting, composition, ideas, models, and locations
no presets or copied slider values — every edit is built from scratch
watch at your own pace and return to the lessons whenever you need them
Want all three workshops?
Get Studio Portrait Editing, Outdoor Portrait Editing, and Landscape Editing together in the complete editing bundle.
Things photographers ask
What software is used in this workshop?
Lightroom is used throughout the editing lessons.
You’ll see the panels, sliders, masks, colour tools, and local adjustments I use as I work through each edit.
Do I need to be an experienced editor to follow this?
You should know the basics of Lightroom: opening RAW files, using the main adjustment panels, and making simple local adjustments.
You do not need to be advanced.
This workshop is for photographers who already edit their outdoor portraits, but want the results to feel more controlled, atmospheric, and finished.
Are presets included?
No.
There are no presets in this workshop.
That is intentional, because the workshop is about learning how to read the image and build the edit from scratch rather than applying a fixed look.
Are RAW files included to practise with?
No.
The workshop teaches the thinking, techniques, and process so you can apply them to your own outdoor portraits, not just copy my exact file.
Your own images are the best practice material.
Why are there lessons on cameras, exposure, models, and locations if this is an editing workshop?
Because outdoor portrait editing is heavily affected by what happened during the shoot.
Exposure, light direction, location colour, lens choice, model placement, and the original idea all affect what is possible in the edit.
The workshop is mainly about editing, but those supporting lessons help you understand why the files behave the way they do when we start working on them.
Will this work if I use Capture One or other non-Adobe software?
You’ll still get value from the editing principles, especially light, colour, skin tones, contrast, depth, and atmosphere.
But the demonstrations are in Lightroom, so if you use different software you’ll need to translate the tools into your own editor.
How long do I have access?
Lifetime access. No renewals, no expiry.
If I ever stop offering the workshop, I’ll give existing customers download access so you can keep the lessons.
What’s your refund policy?
There’s a 30-day money-back guarantee.
If the workshop is not right for you, email me within 30 days and I’ll refund you in full. No forms, no justification needed.
If you want to learn how to edit portraits like this,
then this workshop is the answer.
Real-time editing, every decision explained, lifetime access.
Lifetime access · Lightroom & Photoshop · 30-day guarantee